English


 Ground Mounting System
 Roof Mounting System
 Carport Mounting System
 Farm Mounting System
 Easy Solar Kit
 Solar Tracking System
 Solar Inverter
 Solar Accessories
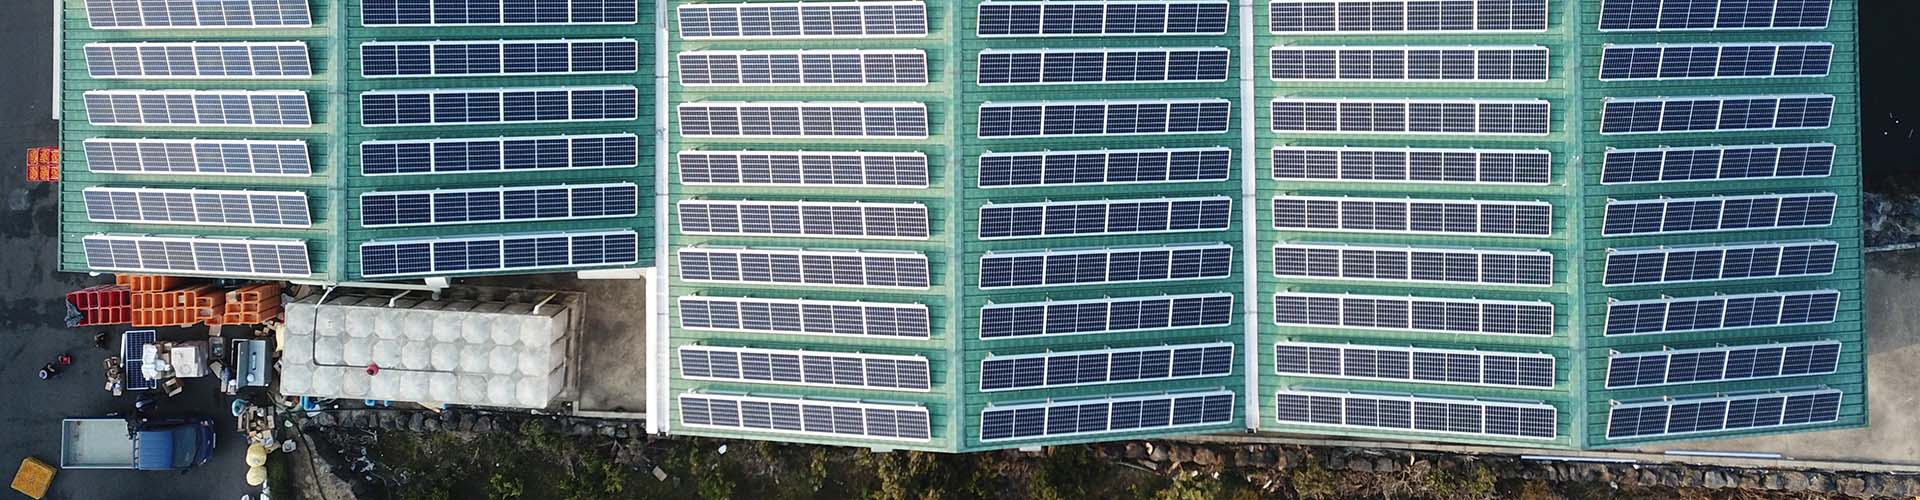
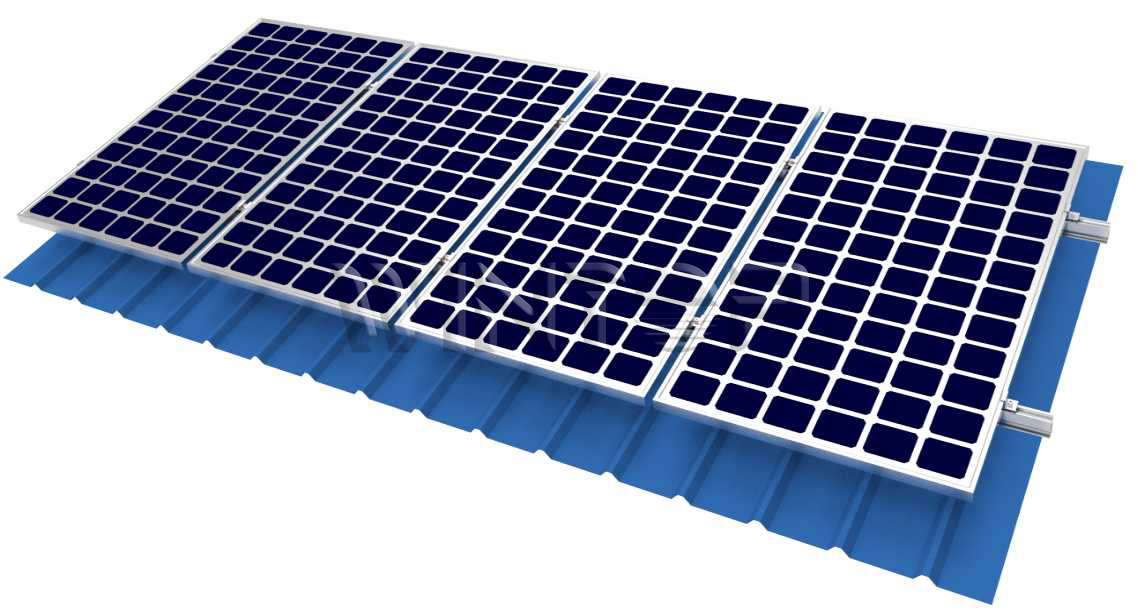
Installation Manual for Tin Roof with L-Feet
Wintop roof solar mounting system is developed to fit all types of L feets in solar roof mounting projects. Fasteners are uniquely designed to more easier and quicker installation with the use of simple tools.
Our company is fully based on the Australian AS/NZS1170.2 standard in the design of the product structure. When installing on roof, you must obey the local safety standards, and pay attention to the relevant regulations in your area.
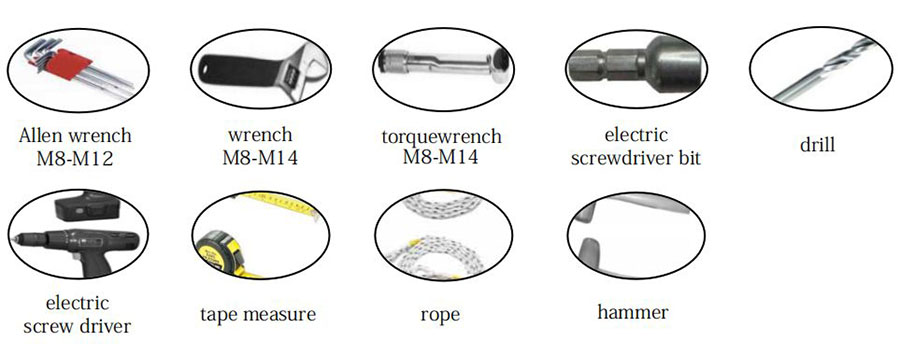
1.Installation Tools
6mm Inner hexagon spanner;
Electrical tool (Solely used to fasten M6 hexagon self-drilling tapping screws and pan head screws with cross recessed);
9, 10, 17, 19 mm open spanner (solely used to fasten bolts that help hang solar panels);
Angle grinder;
Power line;
If necessary, prepare small pieces of wood in case interfaces don’t level with each other.
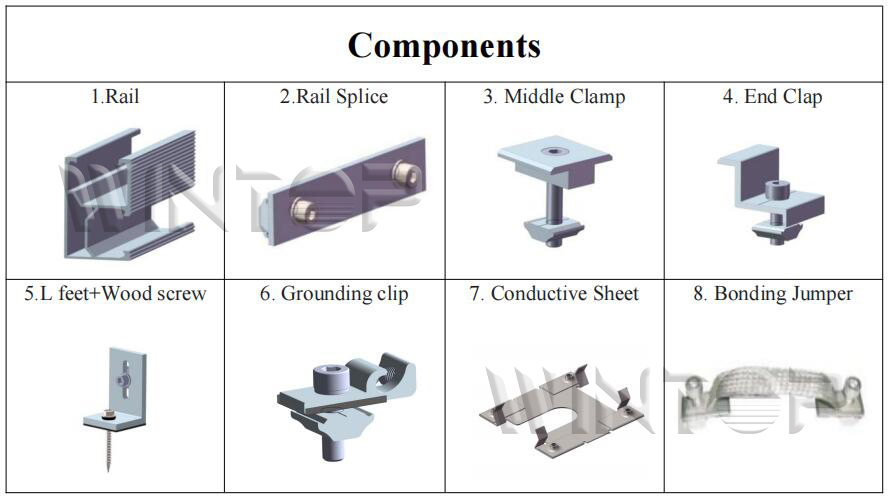
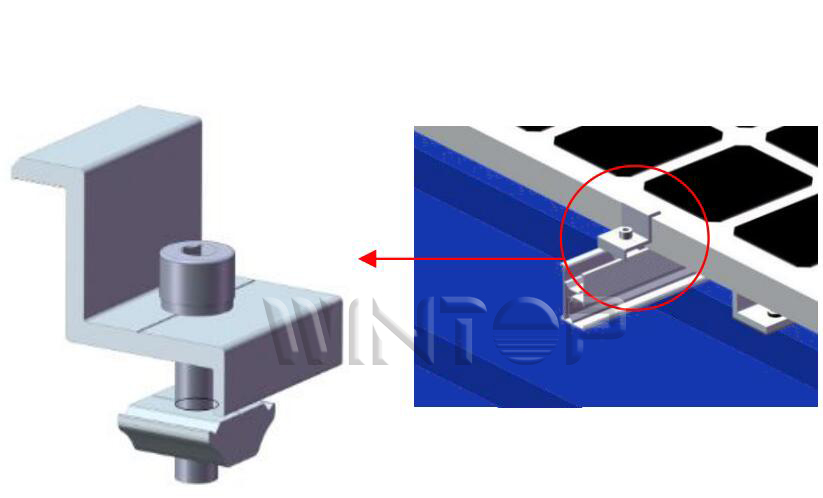
2.Components

3.Preparation before Installation
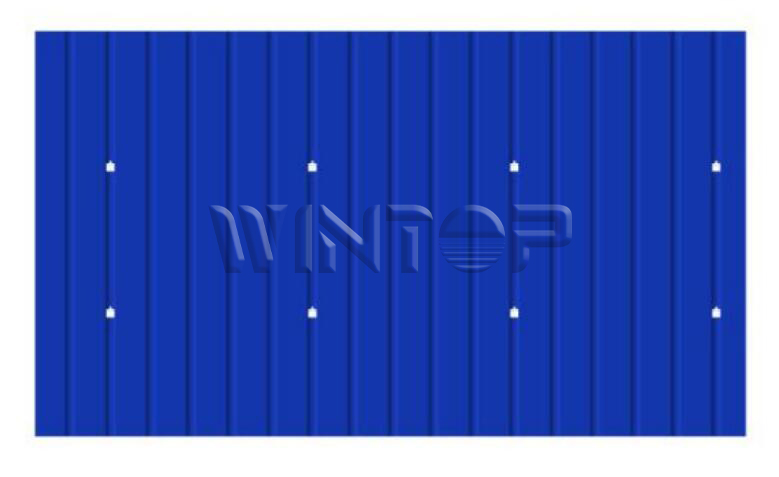
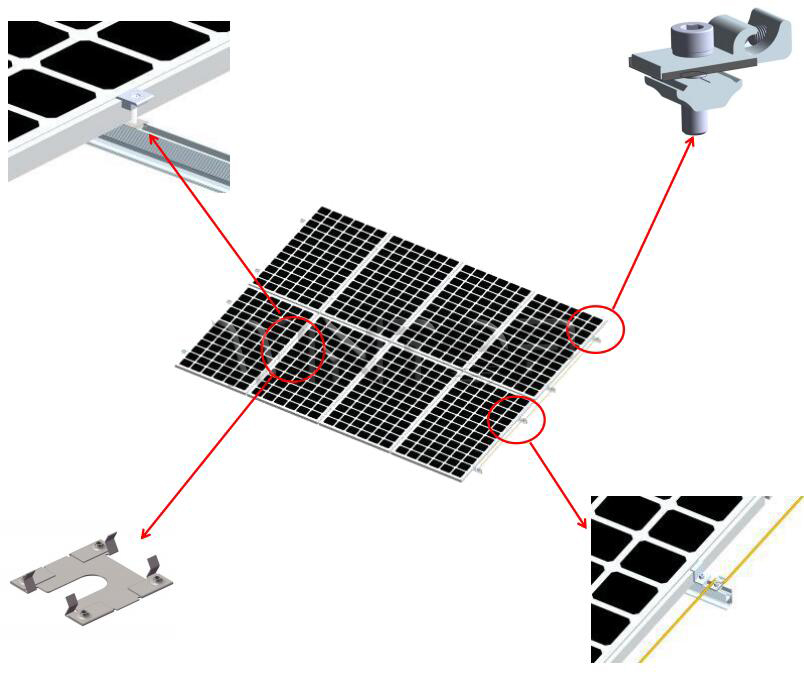
4. Vertical spacing between Standard L feet Hooks≈1/2 or 3/4 of panel length.

4.1.2 As the picture shows,when all L-feet installation finished,it should be like this.
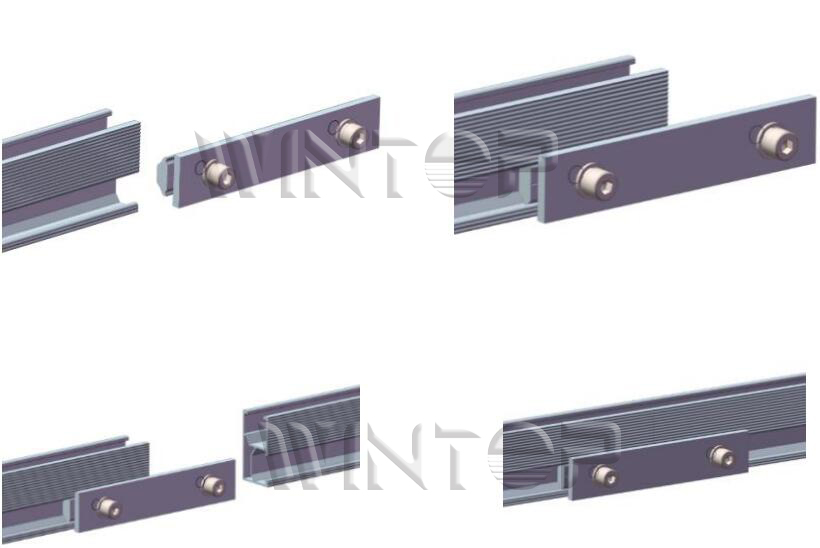
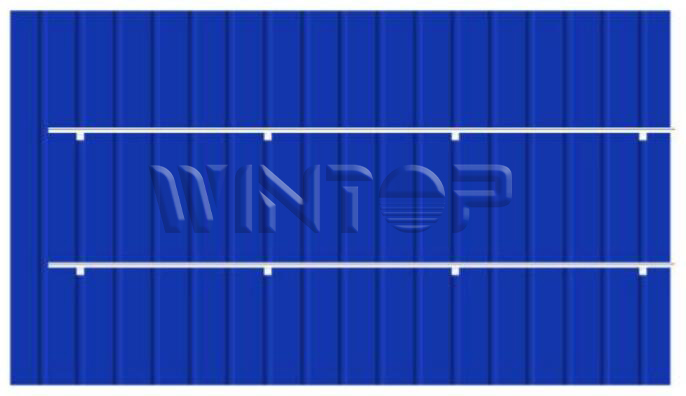
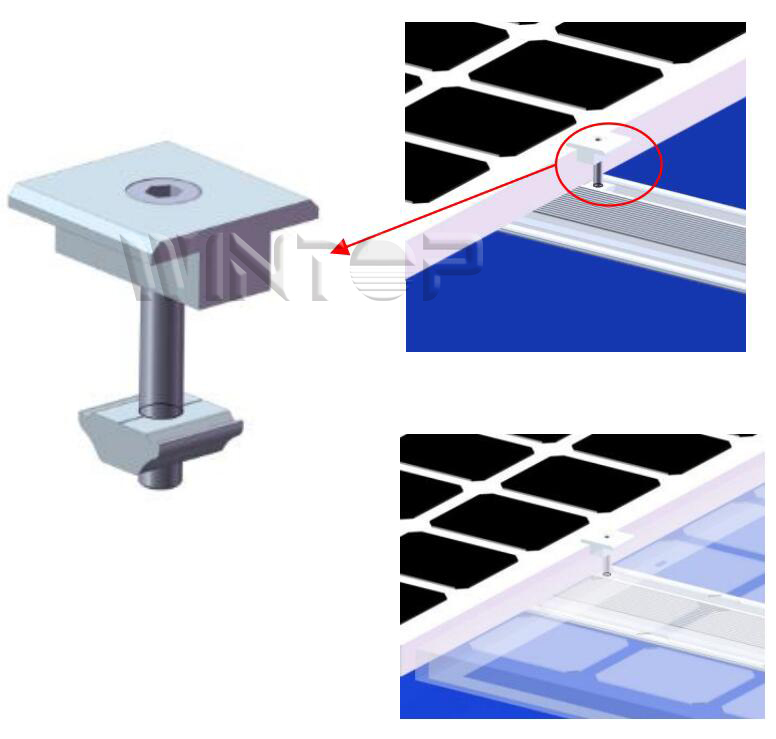
4.3 Installation Rail
 |
 |
Categories
New Blog
For inquiries about our products or pricelist, please leave to us and we will be in touch within 24 hours.
 RM502, Sihai Smart Zone, No.189, Fanghu West Road, Huli District, Xiamen, Fujian, China.


© Copyright: 2026 Xiamen Wintop New Energy Tech Co., Ltd.. All Rights Reserved.

IPv6 network supported