English


 Ground Mounting System
 Roof Mounting System
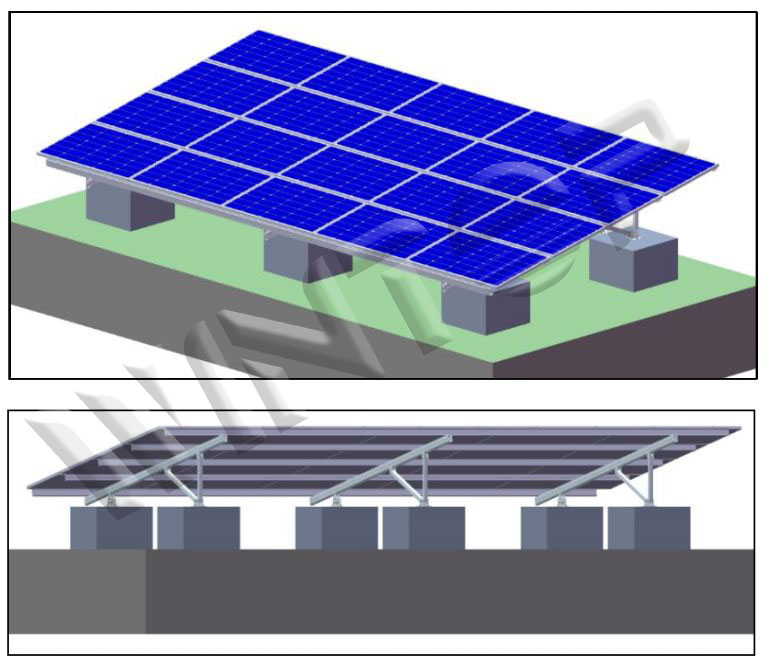
 Carport Mounting System
 Farm Mounting System
 Easy Solar Kit
 Solar Tracking System
 Solar Inverter
 Solar Accessories
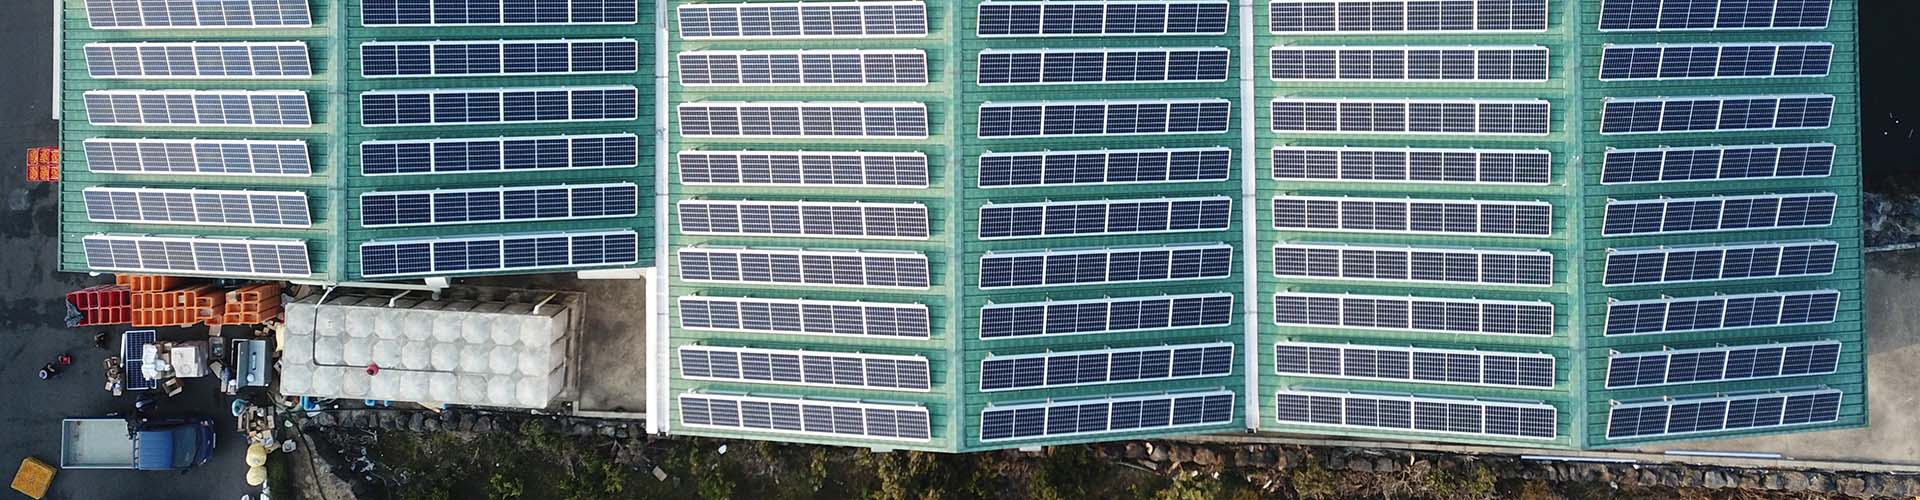
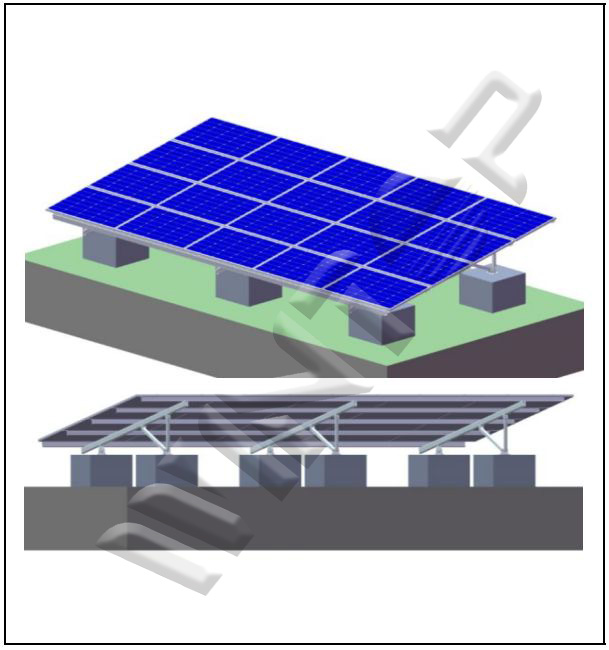
A Shaped Ground Solar Mounting System Installation Notes
The precautions listed here are important elements to ensure the performance, functionality, strength and safety of the item. It must be during construction.
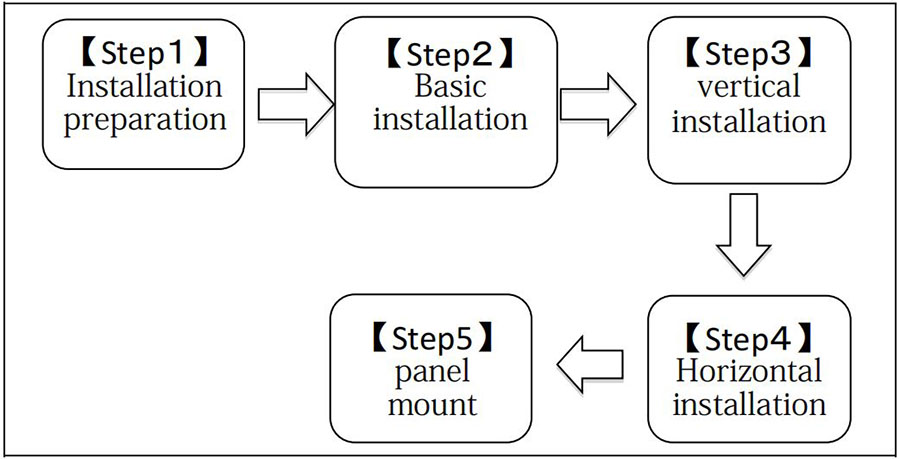
Installation process
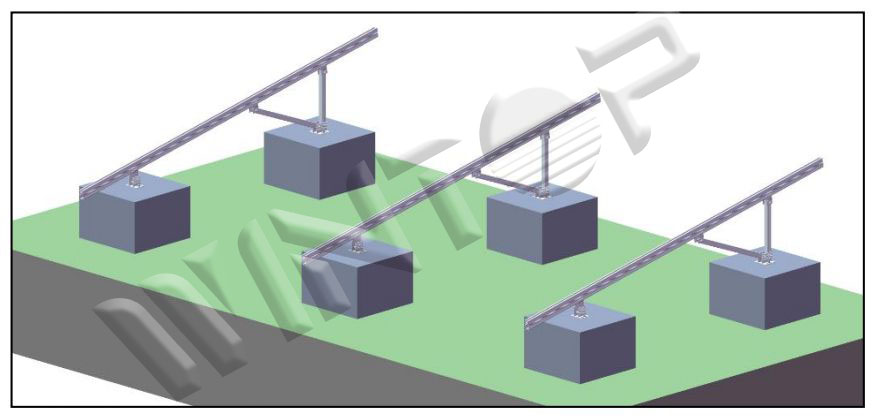
Construction completion drawing
【Step1】Installation preparation
1.1 Safety first
As with any construction site, site safety is paramount. Please wear the following items.

1.2 Installation tools

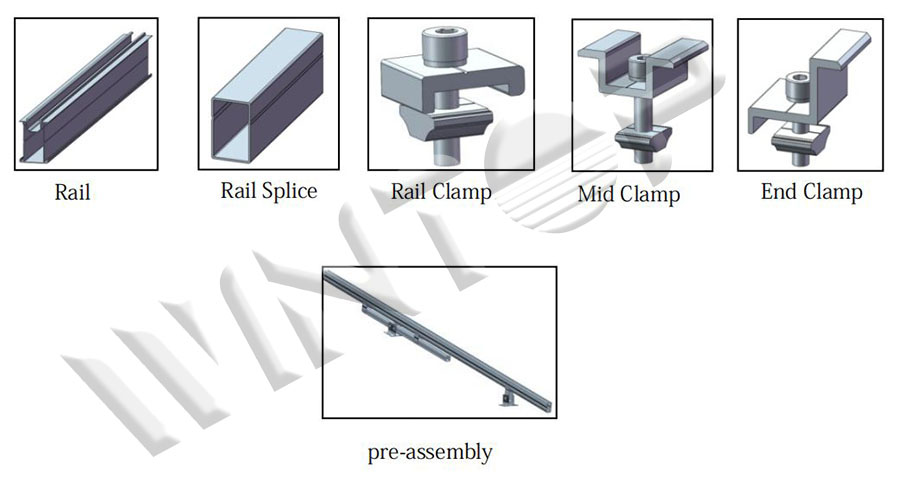
1.3. Component overview
Assemble using the parts shown below.
【Step2】Basic installation
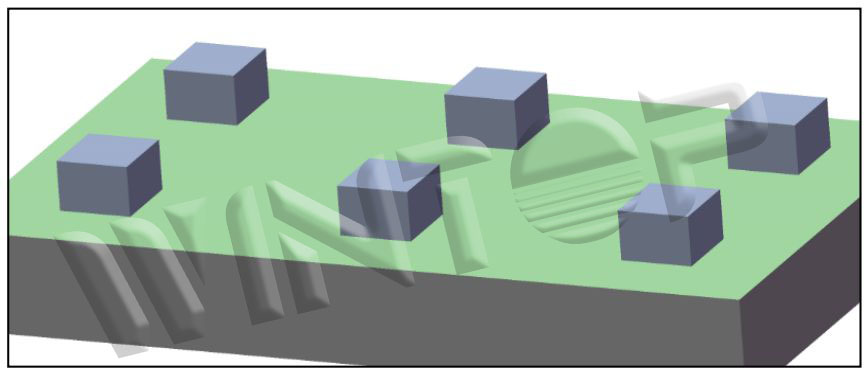
2.1. Measure the position of the concrete foundation and lay the foundation.
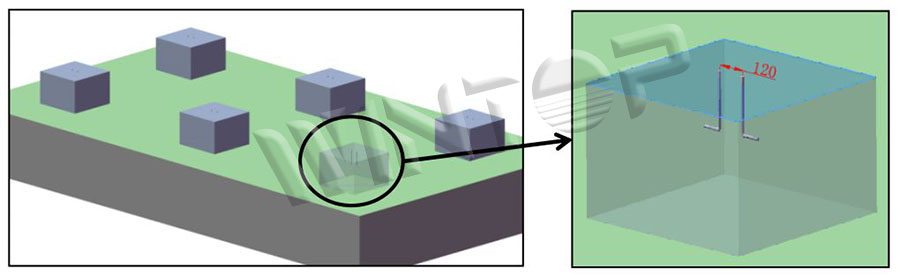
2.2. Lay the concrete foundation and bury the M12×300 anchor bolts at the same time. The bolts protrude about 25-35mm from the foundation.
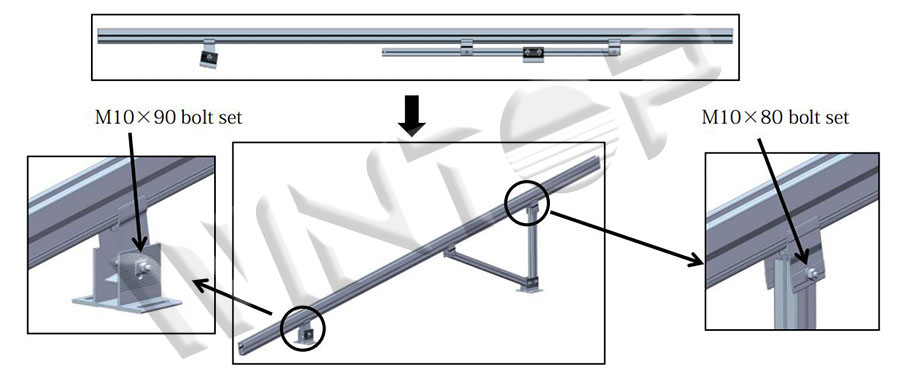
3.2 Install the assembled vertical rail group on the concrete foundation.
3.3 Install in the above order. In addition, the size will be adjusted according to the drawing requirements to ensure the same height and match the installation height of the guide rail.
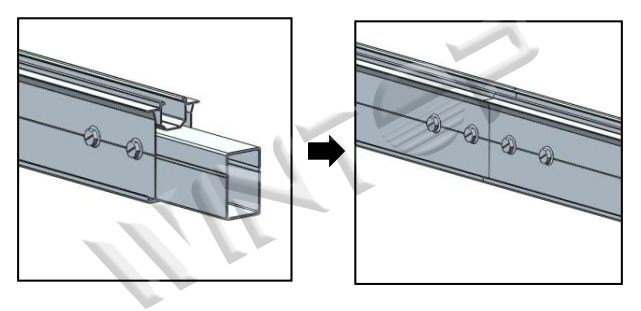
4.2 Put the guide rail on the load-bearing beam and fix it with the guide rail clip.
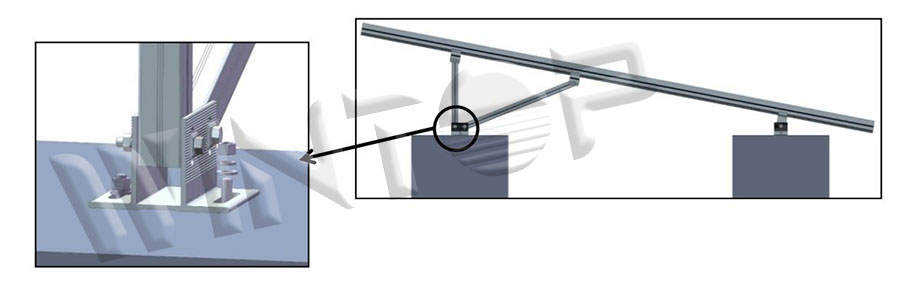
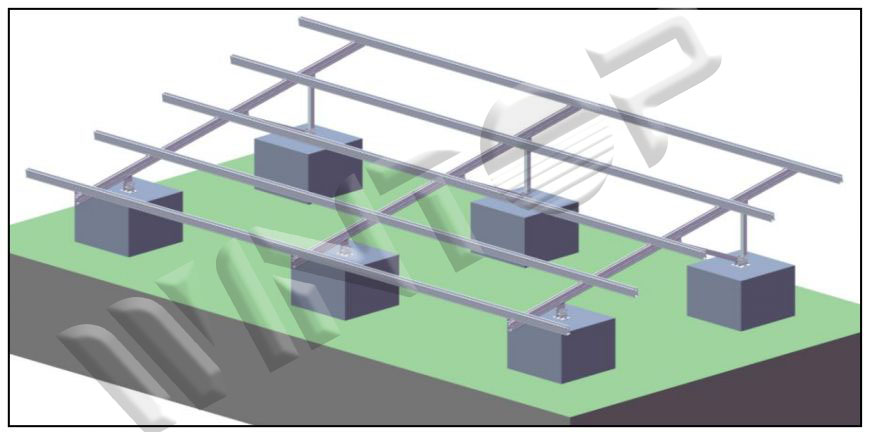
4.3 Taking the three-level bracket as an example, after installing the horizontal guide rail, it is as shown in the figure below.
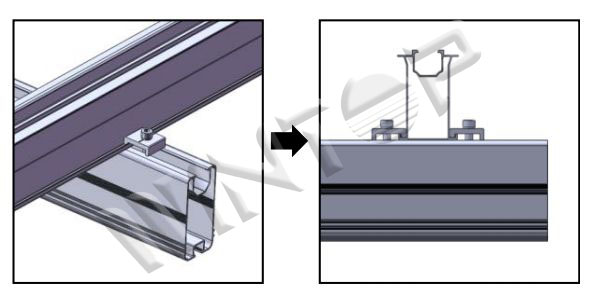
5.1 Place the end clamps on the front and rear edges of the panel
5.2 Placing mid clamp and ground clamp between panels
5.3 Place a ground lug at the end of each rail

The installation is complete
NOTE: Double check that all bolts are tightened.
Wintop-A professional solar mount manufacturer.
Categories
New Blog
For inquiries about our products or pricelist, please leave to us and we will be in touch within 24 hours.
 RM502, Sihai Smart Zone, No.189, Fanghu West Road, Huli District, Xiamen, Fujian, China.


© Copyright: 2026 Xiamen Wintop New Energy Tech Co., Ltd.. All Rights Reserved.

IPv6 network supported